

Transform Your Home with Stunning and Durable Epoxy Flooring.
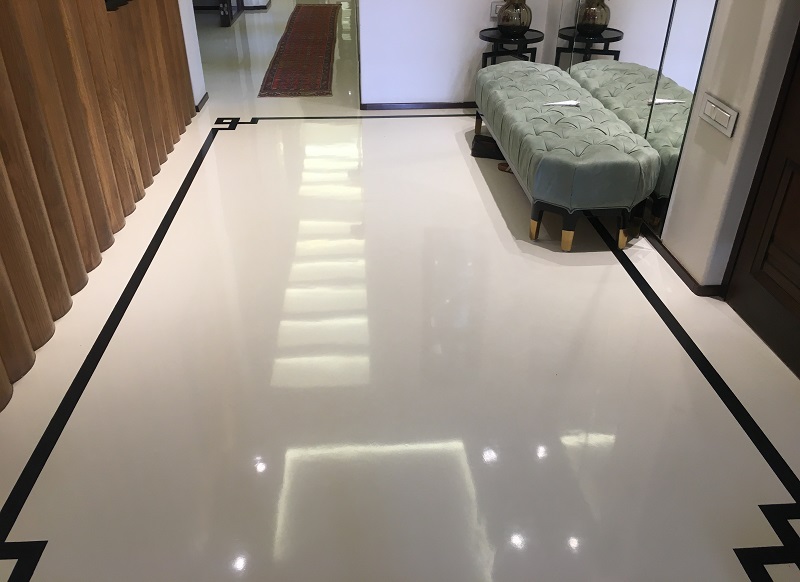
Are you considering a flooring upgrade that offers both style and functionality? Look no further than epoxy flooring. This remarkable material has become increasingly popular for homes in Pune, India, and for good reason. Epoxy flooring delivers a seamless, high-gloss finish that elevates any space while boasting exceptional durability and ease of maintenance.
However, installing epoxy flooring requires meticulous preparation and application. This comprehensive guide will walk you through the process, from initial considerations to the final touches. By following these steps, you can achieve a professional-looking epoxy floor that enhances your home’s aesthetics and value.
Before You Begin: Understanding Epoxy Flooring
Epoxy flooring is a composite material consisting of a resin and a hardener. When mixed, these components create a strong, chemical-resistant coating that bonds exceptionally well to concrete surfaces. This makes epoxy flooring ideal for high-traffic areas like garages, basements, laundry rooms, and even kitchens.
Is Epoxy Flooring Right for Your Home?
While epoxy flooring offers numerous advantages, it’s essential to assess your specific needs and preferences before making a decision. Here are some key considerations:
Durability: Epoxy flooring is renowned for its exceptional toughness. It can withstand heavy foot traffic, dropped objects, and exposure to chemicals like oil and grease.
Aesthetics: Epoxy flooring comes in a vast array of colors, including solid hues, metallic finishes, and decorative chip blends. You can even customize your floor with logos, patterns, or 3D effects.
Ease of Maintenance: Epoxy floors are incredibly easy to clean. Regular sweeping and occasional mopping with a mild detergent is all that’s required to maintain their pristine appearance.
Safety: The smooth, non-porous surface of epoxy flooring provides excellent slip resistance, promoting safety in high-moisture areas like bathrooms and laundry rooms.
Planning Your Epoxy Flooring Project
Once you’ve decided that epoxy flooring is the right choice for your home, it’s time to plan your project. Here are some crucial steps to take:
Measure the Floor: Accurately measure the square footage of the area you plan to cover with epoxy. This information is essential for determining the quantity of materials you’ll need.
Choose Your Design: Consider the overall style of your home and the desired functionality of the space when selecting your epoxy floor’s color and design. Hi-Crete Decorative Systems, a leading provider of epoxy flooring solutions in Pune, offers a comprehensive consultation service to help you choose the perfect design for your needs.
Gather the Necessary Tools and Materials: You’ll need various tools and materials for epoxy floor installation, including:
- Safety gear: respirator, gloves, safety glasses
- Concrete degreaser and etcher
- Crack and hole repair products
- Epoxy primer and topcoat (quantity based on floor size)
- Mixing buckets and stir sticks
- Roller and roller tray with a high-density nap
- Squeegee and trowel
- Decorative flakes (optional)
Preparing the Subfloor: The Foundation for a Flawless Finish
The success of your epoxy floor installation hinges on proper subfloor preparation. Here’s a breakdown of the essential steps:
Thorough Cleaning: Begin by removing all furniture and fixtures from the room. Then, meticulously clean the concrete floor using a degreaser to eliminate any oil, grease, or dirt that could compromise the epoxy’s adhesion.
Etching the Concrete: Concrete etching involves applying a mild acidic solution to roughen the surface, creating a better bond for the epoxy coating. Hi-Crete Decorative Systems offers high-quality concrete etching solutions to ensure optimal adhesion.
Crack and Hole Repair: Inspect the concrete surface for cracks, holes, or other imperfections. Use appropriate patching materials to fill these irregularities and allow them to cure completely before proceeding.
Neutralization: After etching the concrete, thoroughly rinse the surface with clean water to remove any residual acid. Allow the floor to dry completely before moving on to the next step.
Applying the Epoxy Coating: Transforming Your Floor
With a clean and prepped subfloor, you’re ready to apply the epoxy coating. Here’s how to achieve a flawless finish:
Mixing the Epoxy: Carefully follow the manufacturer’s instructions for mixing the epoxy resin and hardener. The mixing ratio is typically precise, so ensure you measure accurately.
Priming the Floor: Apply a thin layer of epoxy primer using a roller with a high-density nap. This step ensures better adhesion of the subsequent epoxy coats. Allow the primer to dry completely as per the manufacturer’s recommendations.
Applying the Epoxy Base Coat: Once the primer is dry, it’s time for the main event